Pleated Flower Tutorial
Good morning! As promised, here is a tutorial on how I made that pleated flower card. As some of you may know, I had the chance to work with the September Snobby Walrus kit. I was able to create a lot of wonderful things with it, & I am going to slowly sharing them with you.
Today, I have a little tutorial for you (that I also posted on The Everyday Scrapper) on how to make pleated flowers (please don't mind my very messy & stained craft table, but I'm sure you can all relate....right??):
First, you take a strip of paper, which mine happens to be scraps from one of the layouts I've done with the fabulous kit. It is about 12" in length, but the longer it is, the bigger the flower, & the smaller the paper, of course the smaller the flower.

Second, you fold it on a slight slant, once towards you, & then a small amount away from you.

Repeat the process over & over again:
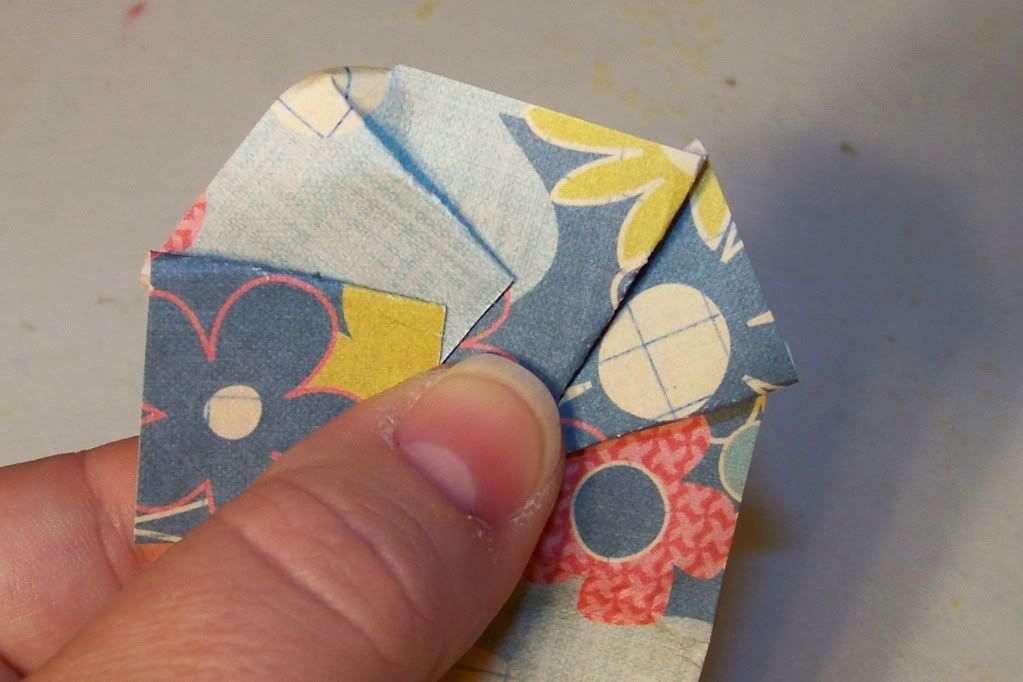
And just continue to do this until the end of the paper, so it will look like this:

Then go ahead and glue dot the ends together to complete your flower:

Take a small thin piece of green paper, or any color that you chose, to make the stem & leaves, & pleat in a straight line.

Add it to your project w/ glue dots, or super tacky adhesive to make sure that it stays put, add a few embellishments, & you will have something that looks like this:
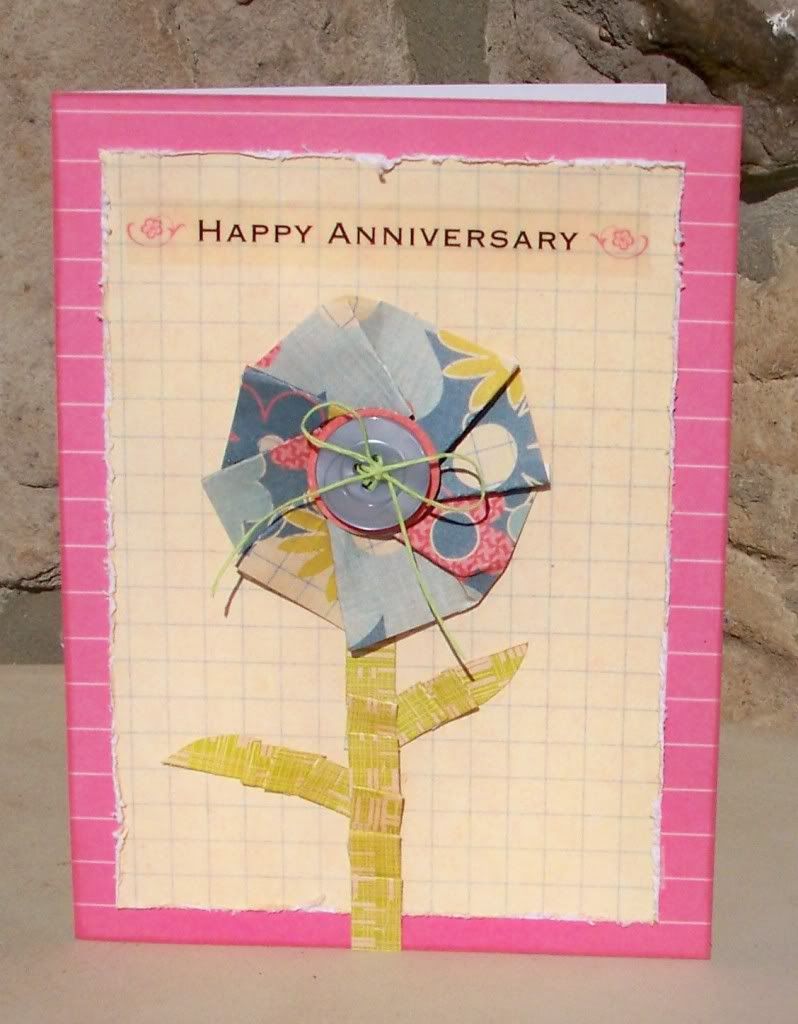
Voila! A cute little flower on a simple card. Look easy? Well it certainly is!! I hope you give it a try! If you do, or have tried this technique before, please share with me, I would love to see what you have come up with!
Thanks for stopping by today! Enjoy the rest of your week!


Comments
Post a Comment