Altered Overlay Tutorial
Can you belive that we are almost through October already? Where has the month gone. I surely hope that everyone is doing well, & having a fabulous fall season!
I am pretty sure that I never mentioned that I was asked to design with the September Snobby Walrus kit for Snobby Walrus. I was actually to be featured on their blog in September, but it seems their blog is still down for maintenance since August. I did post this tutorial on The Everyday Scrapper, though, & thought that I would share with you here as well.
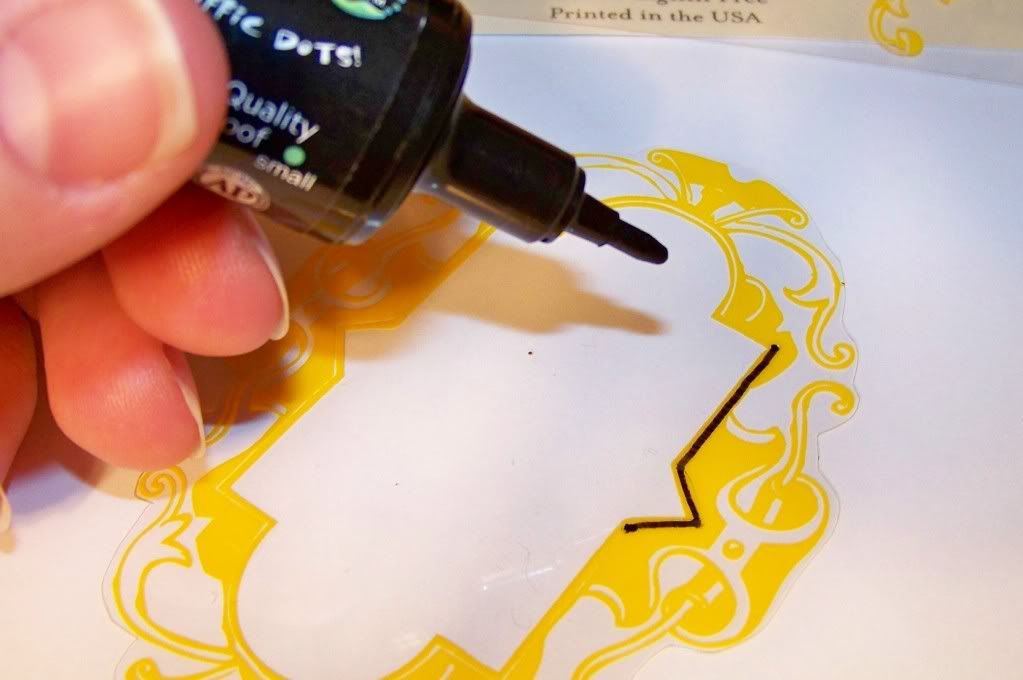
There is a sheet of frame overlays in the September Snobby Walrus kit. I have to tell you that at first glance, I was quite intimidated by them. I really had no idea what to do with these overlays. I cut off some of the ones on the end, the ones that were cut in half, & started to play with them. Paint, stamps, sanding....which all turned out ok, but I found 2 techniques that I really liked & that worked with these overlays. I am going to share with you now the 2 things that I did....& yes, I used both techniques on ONE of the frames!! Are you ready?? Ok, here we go:
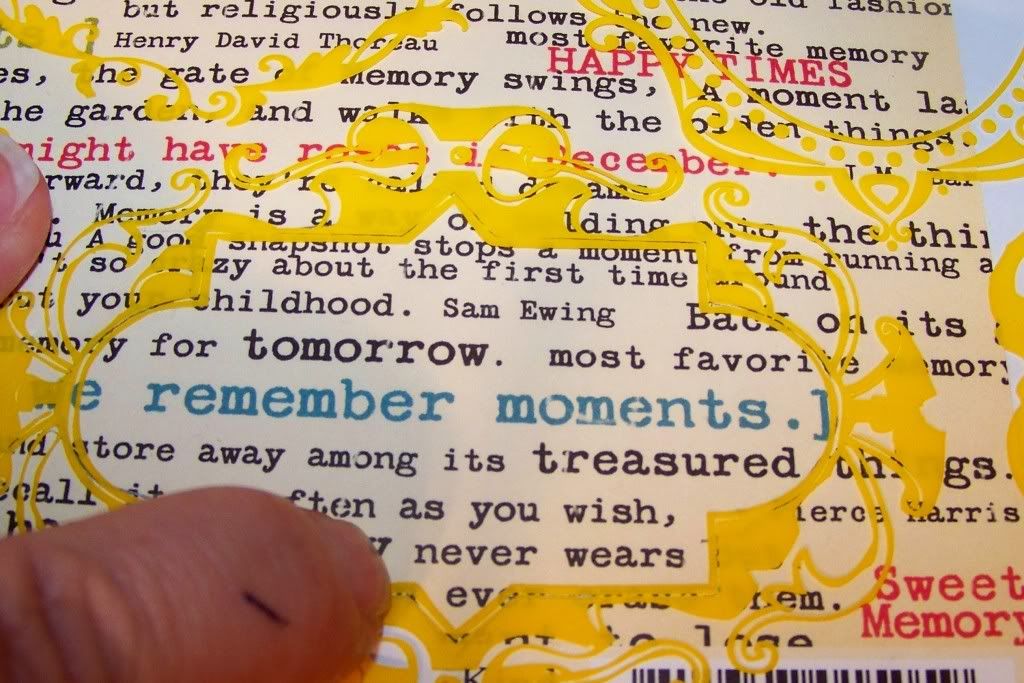
2) Make an outline where you would like to cut the paper so that it will fit behind the overlay.
3) Cut out the shape from the paper that you just marked:
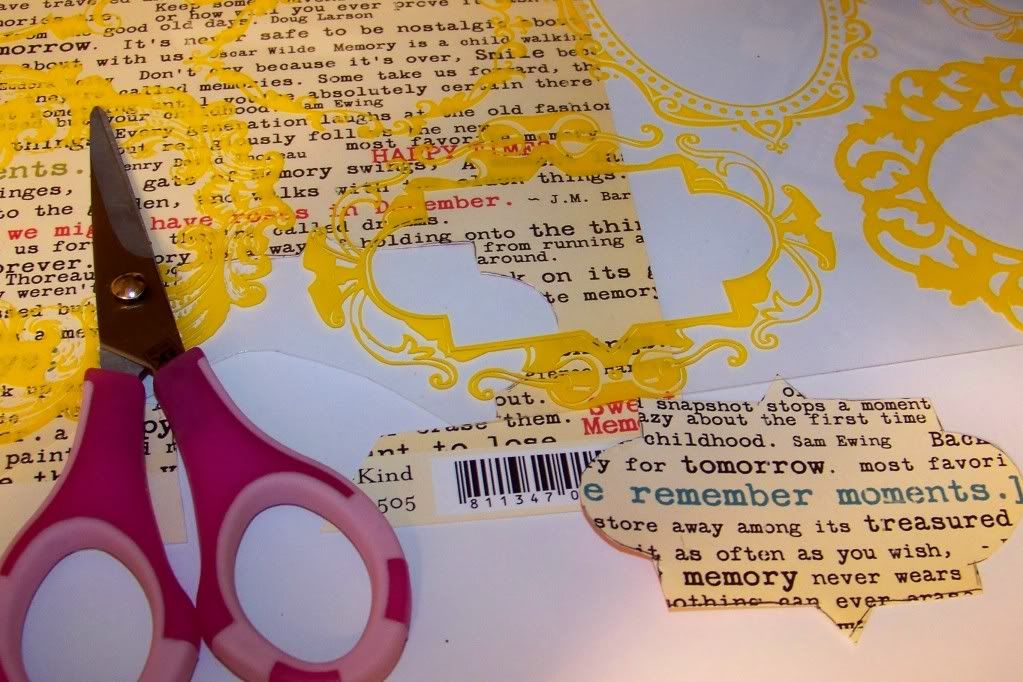
& it looks like this:
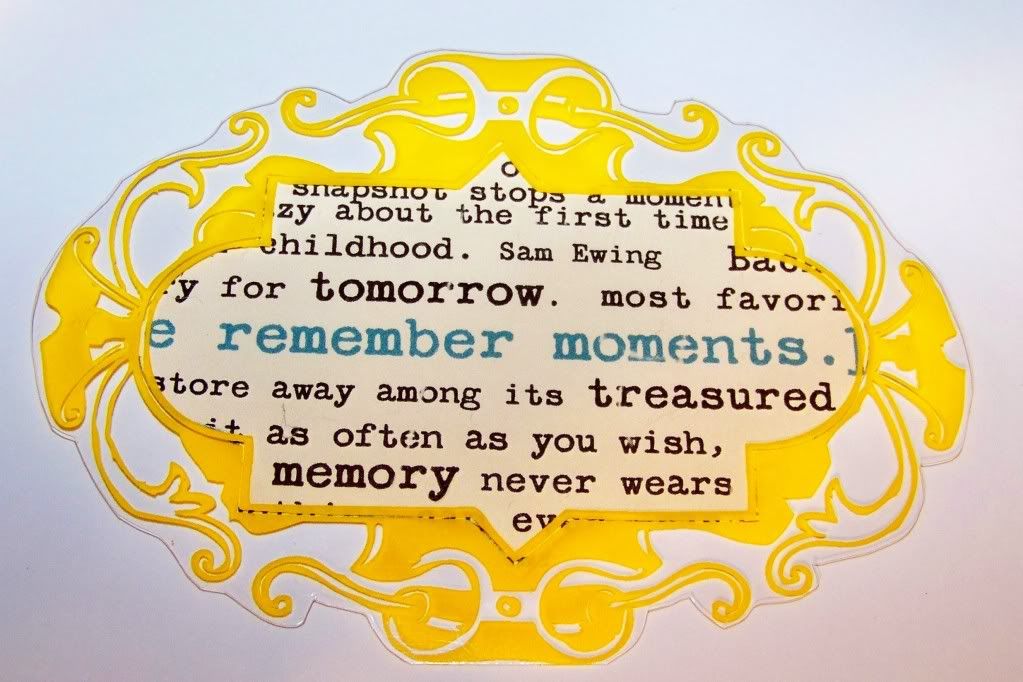
2) Flip it over, place it on top of the paper you cut out & you will have something that looks like this:

Then I used it as an embellishment on this layout:


Comments
Post a Comment