Glitter Tutorial with Snobby Walrus Sept. Kit
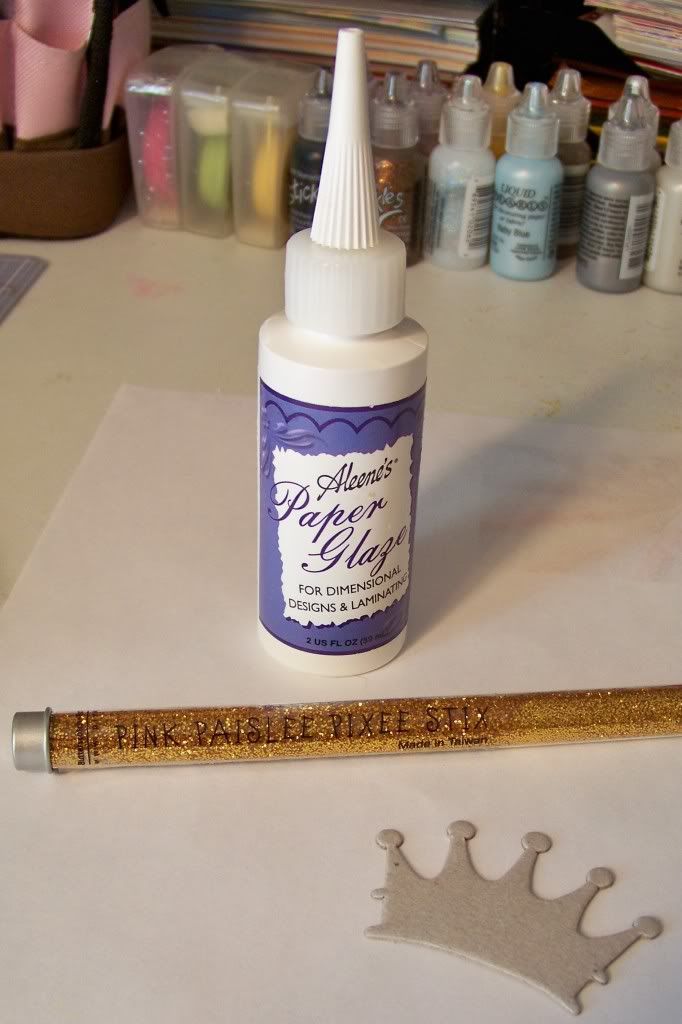
I hope you are ready for some more fun with the Snobby Walrus September kit, & another tutorial that I've put together for you. For this you will need glitter (I used Pink Paisley Pixee Stix from the kit), chipboard (that I had in my own stash), & some paper glaze.
I know I've said this before, but please do not mind the messy & stained craft table! I surely hope that you can relate to the mess that we can make when we are deep into our creative modes!
Here are the items that you will need:
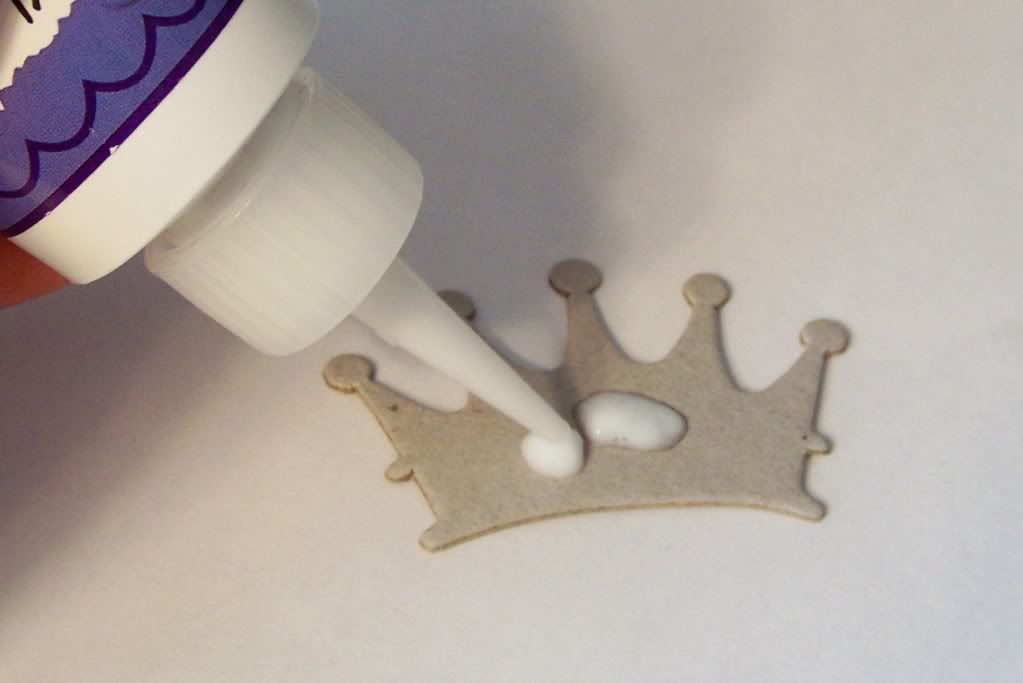
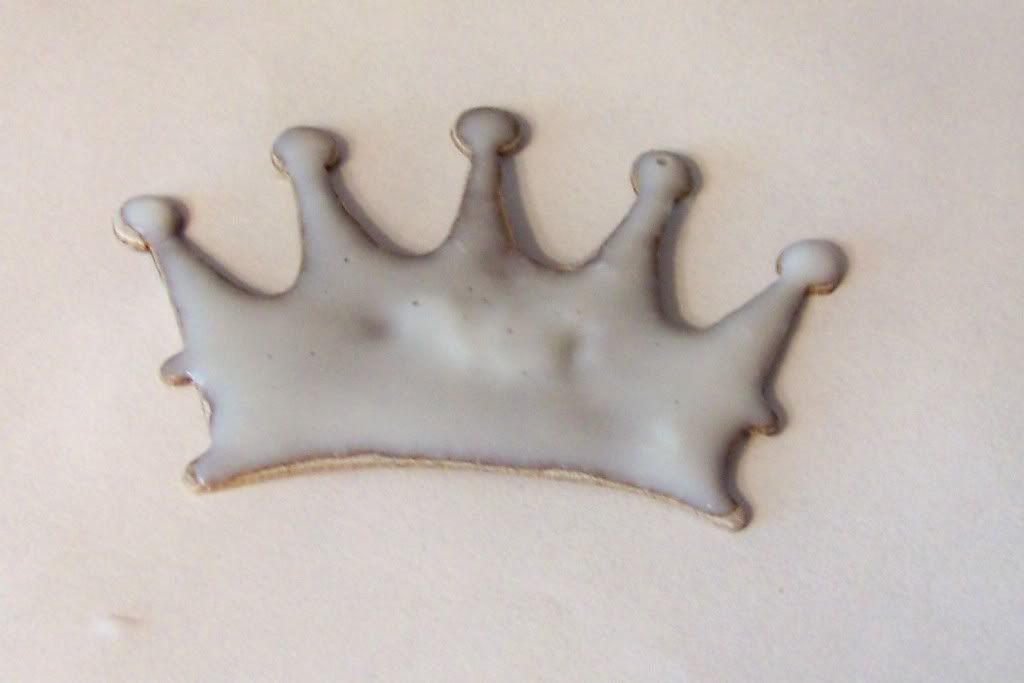
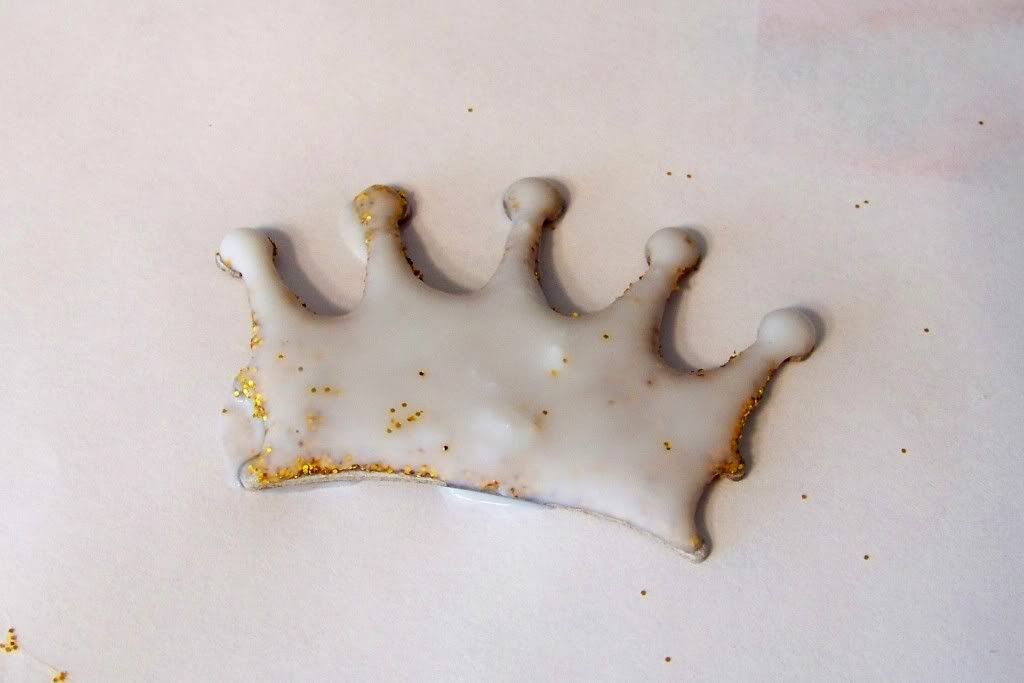
1) You want to cover the entire chipboard with the paper glaze.
2) Take the glitter & generously put it over top of the glaze.
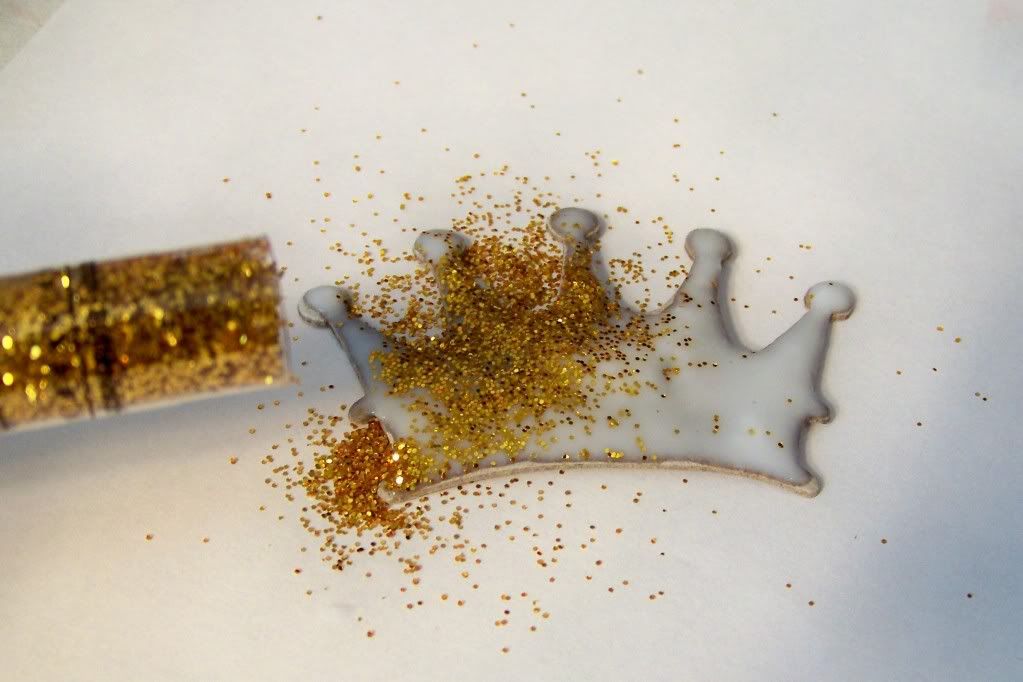
3) Pat it down with your finger.
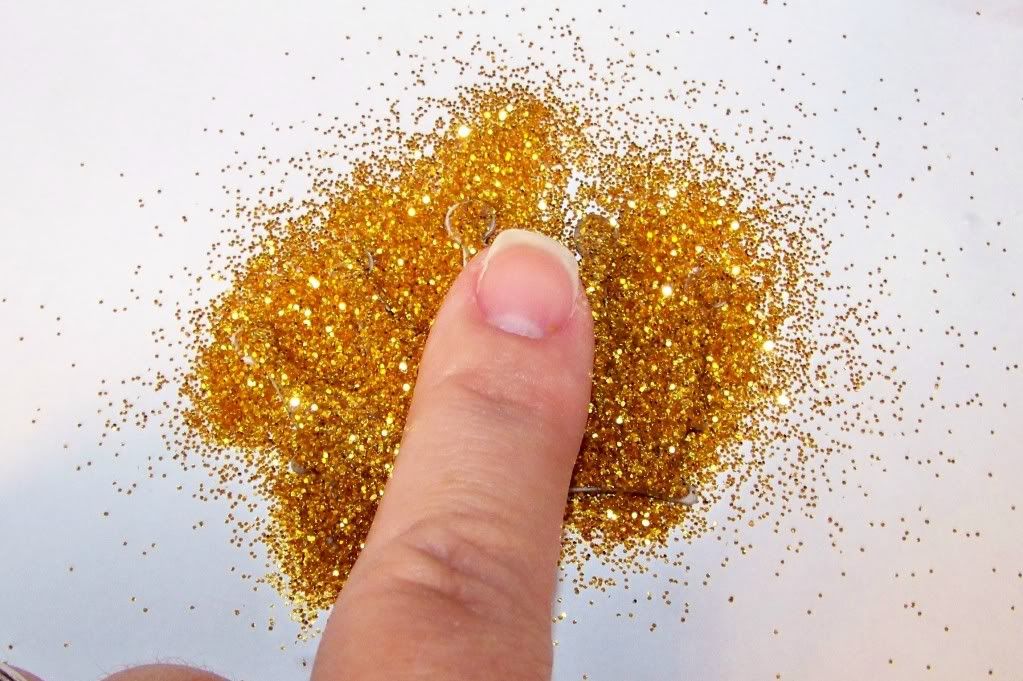
4) Pick it up carefully & shake all the excess glitter off.
5) Let it dry for a few minutes.
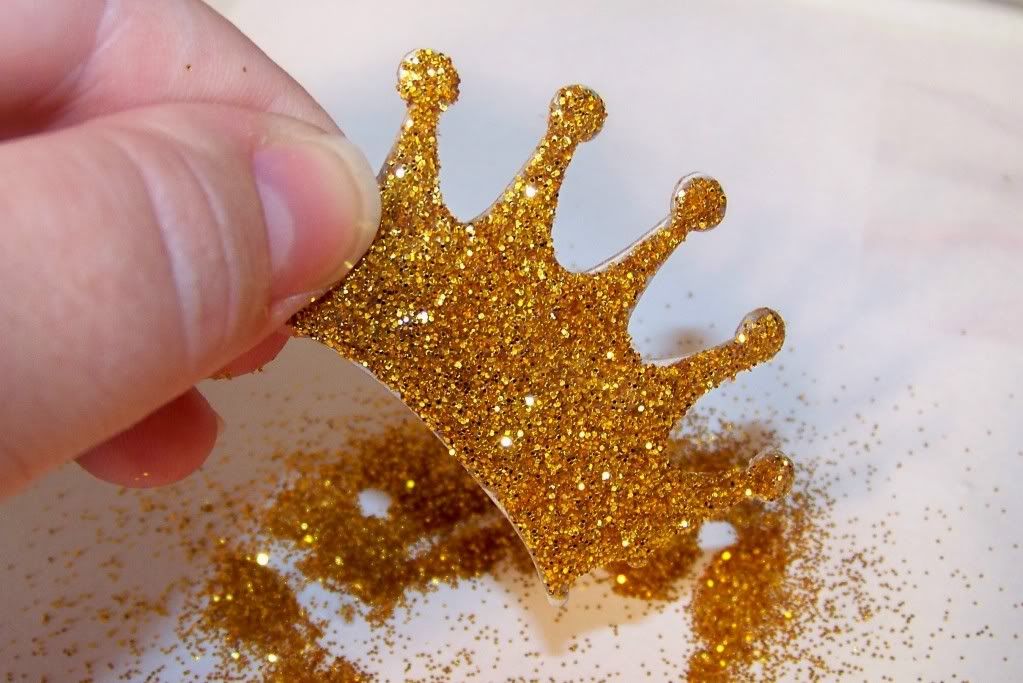
6) Then you want to cover all of the glitter with the paper glaze.
7) Set aside & let completely dry.
8) Adhere to your project
You will have something that looks like this:
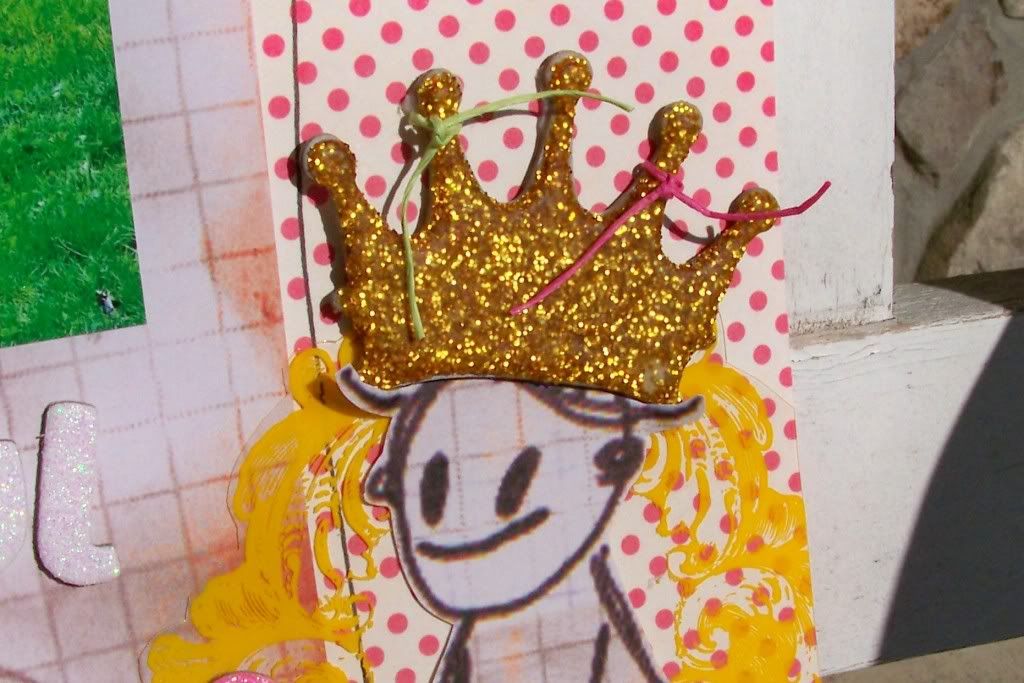
and here it is on my layout (of course using the yummy papers from the SW September kit):
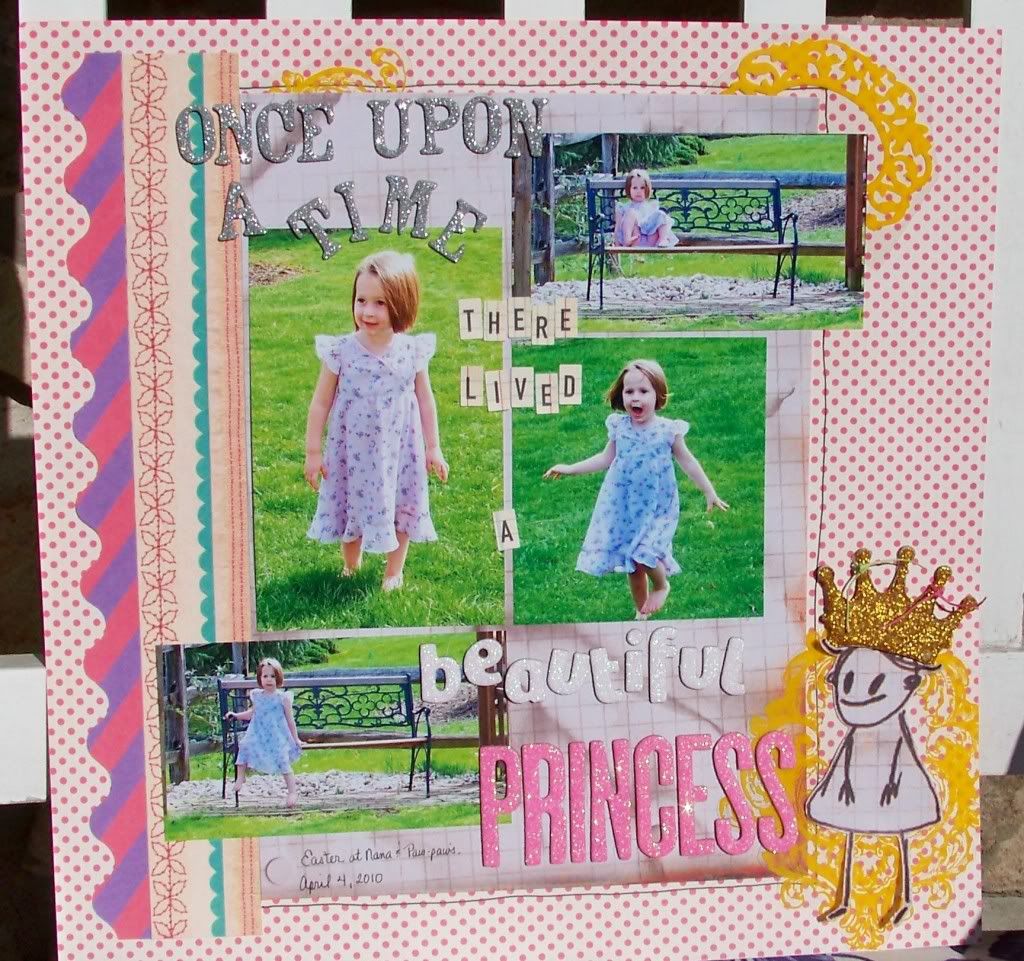
By putting the paper glaze on top of the glitter, it allows it to set & you won't have stray glitter coming off your project & into places that you don't really want it.
I hope that you give this a try, and if you do, or have tried this already, please leave me a comment w/ a link to your project. I would love to see what you have created.
Thanks for stopping by today! Enjoy your day!


What a grat tip.I need to get that paper glaze!
ReplyDelete